TypeScript Client
The TypeScript client client-ts provides libraries for interacting with Nillion blind compute networks. This client is structured as a monorepo containing multiple packages to support different use cases and environments.
Quick Start
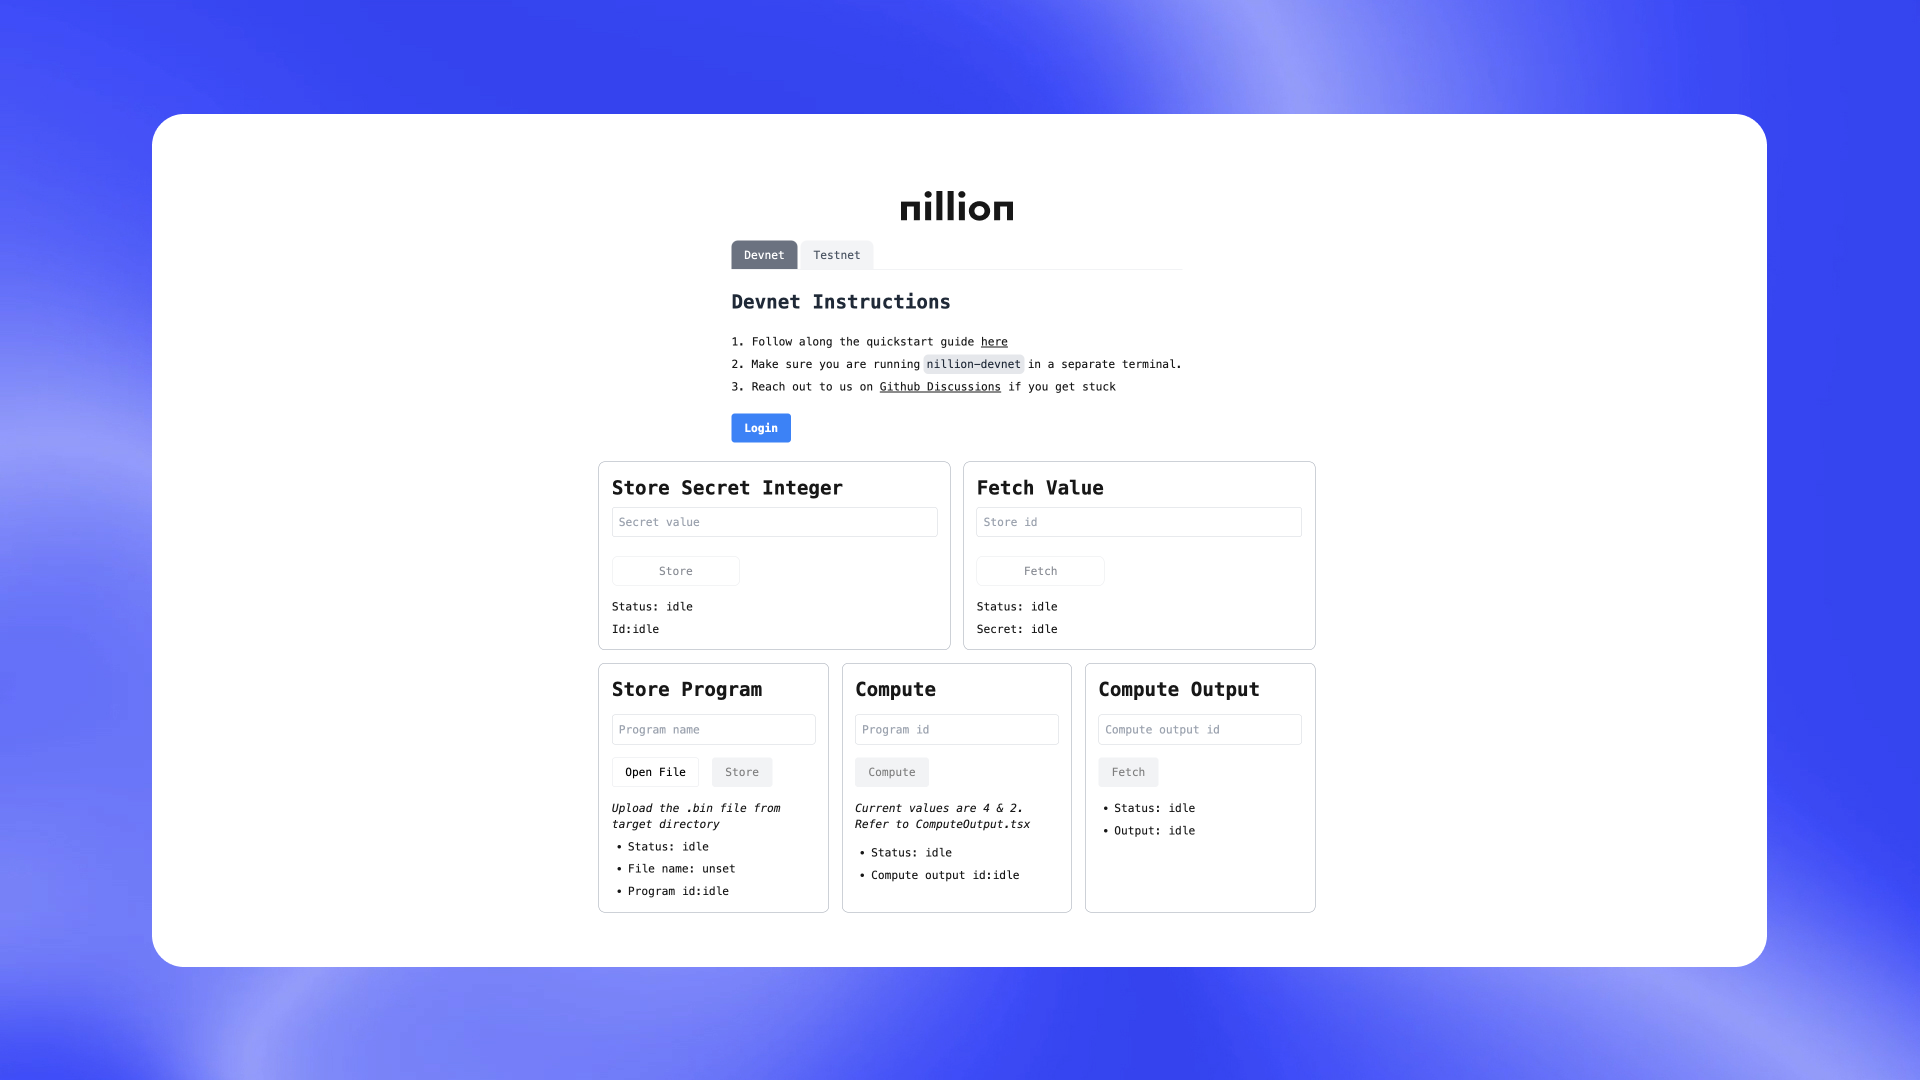
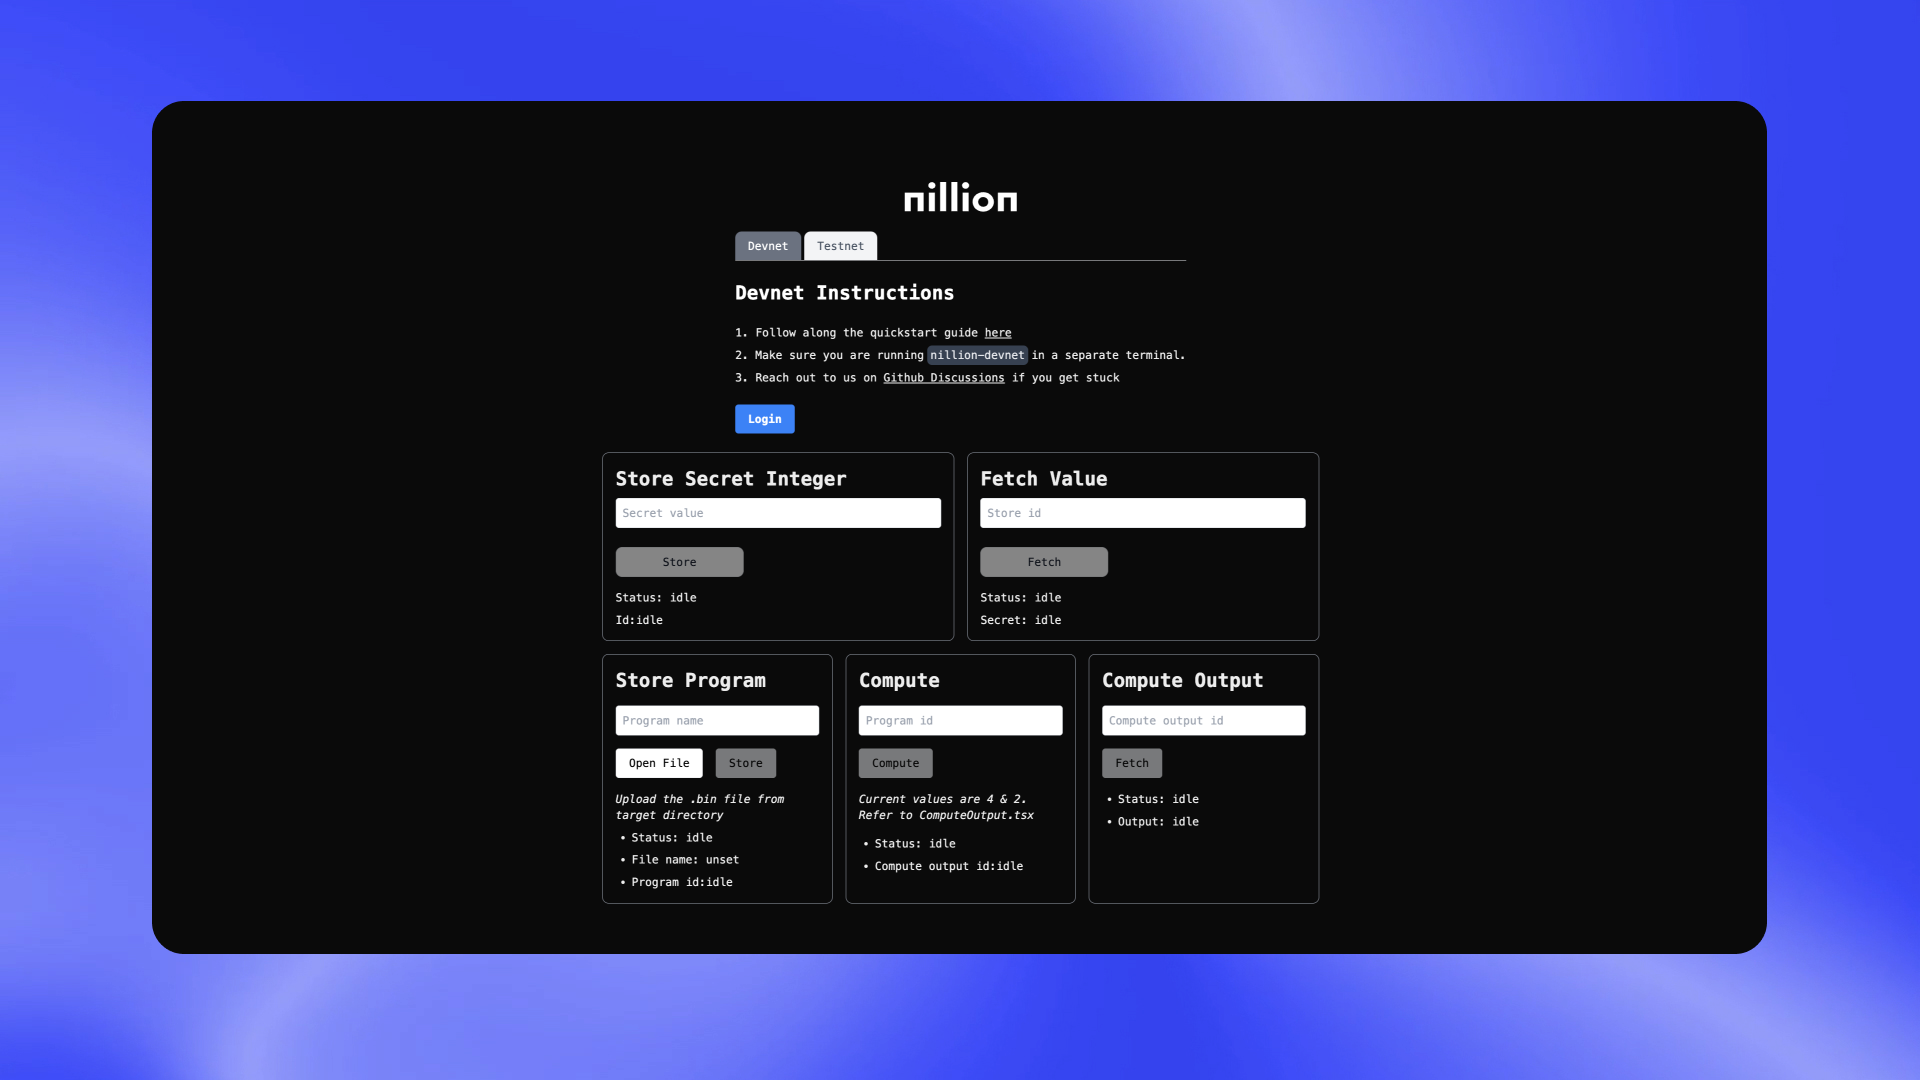
The fastest way to get started with Nillion is using the create-nillion-app cli tool, which spins up a working Next.js app
npx create-nillion-app@latest
Manual Installation
Install Nillion SDK
If you have not already, in your shell/terminal run the following command to install the Nillion SDK.
curl https://nilup.nilogy.xyz/install.sh | bash
Then ensure that you can run the nillion-devnet command in a separate terminal. Please refer to the Installation guide for further information.
Install the JavaScript Client
Install the following packages in your browser application (i.e. React / Nextjs). The Nillion client is composed of three main packages:
- @nillion/client-wasm: Collection of utility functions exported from Rust to WebAssembly, providing core functionality for the Nillion ecosystem.
- @nillion/client-vms: Primary gRPC client that combines payments and network operations into a simple API. This package supports both web browsers and Node.js environments.
- @nillion/client-react-hooks: React hooks built on top of @nillion/client-vms and integrated with @tanstack/react-query for seamless React application development.
- npm
- yarn
- pnpm
npm install @nillion/client-wasm @nillion/client-vms @nillion/client-react-hooks
yarn add @nillion/client-wasm @nillion/client-vms @nillion/client-react-hooks
pnpm add @nillion/client-wasm @nillion/client-vms @nillion/client-react-hooks
Usage
This is the barebones initialization needed to start the NillionProvider. You must be running nillion-devnet in another terminal to be able to interact with this.
The approach we take is to:
- Import NillionProvider + createClient
- Set the client when mounted with UseEffect
- Initialized!
Please note this is based on Next.js so can differ.
// page.tsx

"use client";

import { NillionProvider, createClient } from "@nillion/client-react-hooks";
import type { VmClient } from "@nillion/client-vms";
import { useEffect, useState } from "react";

export default function Home() {
  const [client, setClient] = useState<VmClient>();

  useEffect(() => {
    const init = async () => {
      const client = await createClient({
        network: "devnet",
      });
      setClient(client);
    };
    void init();
  }, []);

  if (!client) {
    return <div>Loading...</div>;
  }

  return (
    <NillionProvider client={client}>
      ...
    </NillionProvider>
  );
}
Updating our next.config.ts
We also want to update our next.config.ts to be able to interact with the Nillion WASM client, hence the overrides. So replace your empty config with the following settings.
loading...
Next Steps
Now you can interact with the Nillion devnet and use the React hooks to do various storage and compute actions with the network.
And once you are ready for testnet, you can follow these testnet instructions.
🗃️ Hooks
4 items

